Products You May Like
Ash K Holm is a Who What Wear editor in residence, a celebrity makeup artist and educator, and the co-founder of the luxury medspa Dripology.
We’re officially in sultry-eye-makeup season. Fall and winter are my favorite times to embrace a lined, defined, and smoked-out aesthetic. To me, it looks chic, elevated, and powerful. However, as a celebrity makeup artist, I’ve noticed that people tend to make the same mistake every time they try to create a smoky eye: They use the darkest color all over the lid. My expert trick? Do the complete opposite. You see, my job is to use makeup to enhance the natural shape of my clients’ eyes. To do that, I don’t overwhelm the eyes with dark colors. I use them sparingly and precisely to create a flawless effect.
It’s all about a light-to-dark color gradient. I call it “eyemaxxing.” I ombré the eye shadow, eyeliner, and even the mascara, keeping everything softer toward the inner corner and gradually deepening it toward the outer corner. You still get that sultry, smoky effect but without surrounding the entire eye.
For this look, I’ll use one of my favorite fall color stories: rich, chocolate brown. Ahead, see my five foolproof tricks to achieving the perfect sultry smoky eye.
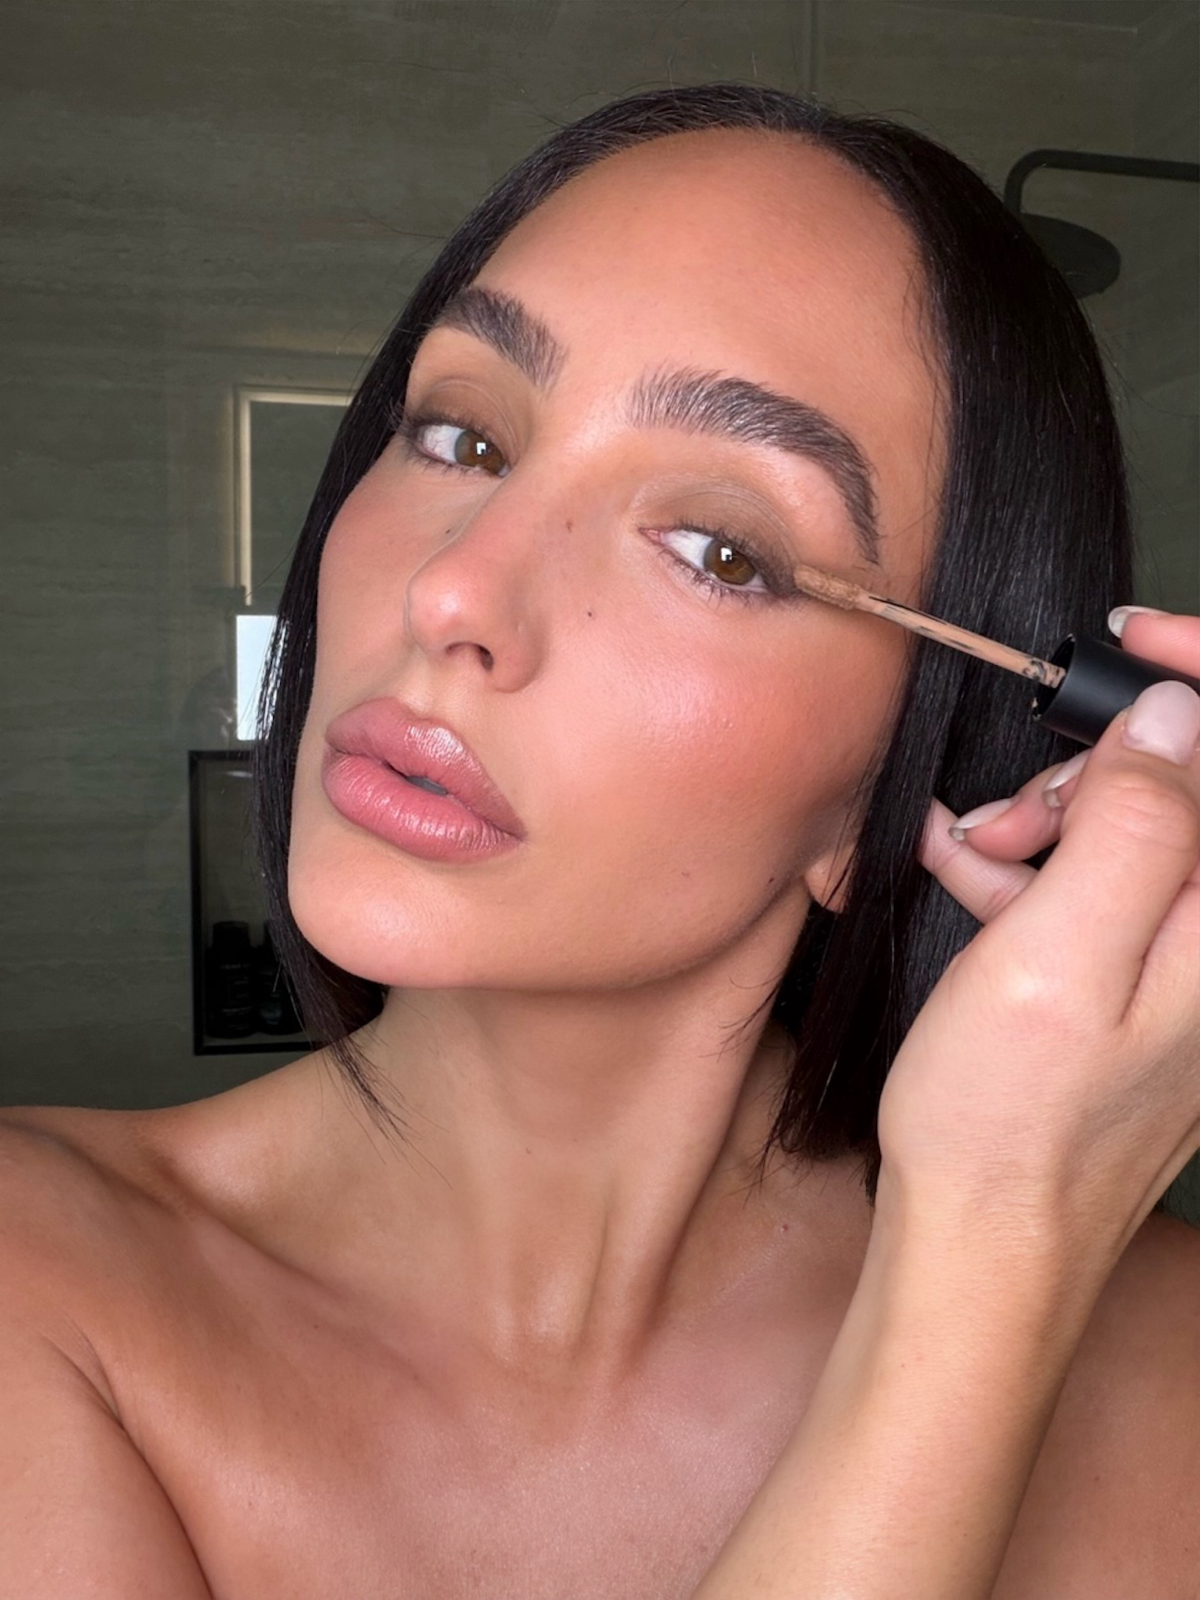
1. Start With a Cream Shadow

(Image credit: Ash K Holm)
I love a product that can do more than one thing. For this look, I start with Makeup by Mario Longwear Cream Eyeshadow in Chestnut ($25) using the Rèphr 00 Eyeshadow Brush. Chestnut gives me an instant wash of chocolate color while also creating a base for the powder shadows I’m going to layer on top. It’s one easy step, but it immediately gives the eye more richness and dimension.

MAKEUP BY MARIO
Long-Wear Cream Eyeshadow in Ballet Blush

2. Create a Template for Eyeliner With Eye Shadow

(Image credit: Ash K Holm)
Before I reach for eyeliner, I map out the shape of the eye with shadow. Using the N3 shade from the Natasha Denona Sculpt Texture & Tone Palette ($82), I build the shape with the Rèphr 02 Eyeshadow Brush ($22), keeping the color softer toward the inner portion of the eye and gradually deepening it as I move outward.
Then I use the Rèphr 03 Eyeshadow Brush ($22) to place the shadow between the lashes and closer to the upper lash line. For the lower lash line and under-eye area, I use the Tanielle Jai 7 Detailed Blender Brush ($18) to smudge and diffuse the color without making it look harsh.
Think of it almost like contouring your eyes: light to dark, inside to outside. Instead of surrounding the entire eye with one deep shade, this gradient creates dimension while helping the eye appear more elongated.
Note: You can get all three Rèphr brushes I mention when you buy the brand’s Shodō Eye Set ($55). It’s the best value versus buying all three individually.

NATASHA DENONA
Eye Sculpt Texture & Tone


Tanielle Jai
7. Detailed Blender Brush
3. Don’t Use Just One Eyeliner

(Image credit: Ash K Holm)
This is one of my favorite eyemaxxing tricks. Instead of using black eyeliner everywhere, I tightline the upper and lower waterlines with MAC Eye Kohl in Costa Riche ($24), a rich chocolate brown, starting at the inner eye and taking it about halfway across. Then I transition into YSL Lines Liberated Eyeliner in Black ($36) toward the outer half of the eye.
The transition should be seamless—you almost shouldn’t be able to tell where the brown ends and the black begins. This way, you still get the best of both worlds: the intensity and sultriness of black liner and the softness and dimension of brown liner.

MAC
Eye Kohl Eyeliner Pencil in Costa Riche

Yves Saint Laurent
Lines Liberated 24h Waterproof Eyeliner in Unbridled Black
4. Use Whatever Is Left on Your Brush to Smoke Out Your Liner

(Image credit: Ash K Holm)
This is such a simple makeup artist trick, but it makes a huge difference. If you want a little more intensity, take the YSL black liner slightly above the outer lash line. Before it sets, buff it so you don’t see a harsh black line. Then—and this is the trick—don’t immediately add more eye shadow. Use whatever brown and black pigment is already left on the Rèphr 03 Eyeshadow Brush ($22) and the Tanielle Jai 7 Detailed Blender Brush ($25) from mapping out the eye. Work that remaining pigment over the liner to soften and diffuse it.
This helps set the pencil while melting the eyeliner and eye shadow together. The finished effect should look soft, diffused, and lived-in rather than like separate layers of liner and shadow.
5. Ombré Your Mascara (Yes, Really)

(Image credit: Ash K Holm)
If you’re going to ombré your eye shadow and eyeliner, why stop there? I use Thrive Causemetics Tubing Mascara in Elena ($26), a softer brown, toward the inner lashes and then transition into Lancôme Lash Idôle Flutter Extension Mascara in Black ($30) toward the outer lashes. It’s a small tweak, but it upgrades the entire look.
The brown keeps the inner portion of the eye soft, while the black adds definition and intensity toward the outer corner. When your shadow, eyeliner, and mascara all move from light to dark, they work together to create that dimensional, elongated effect.
The biggest takeaway? A smoky eye doesn’t have to mean black makeup everywhere. The secret is gradation. Start softer toward the inner corner and gradually deepen the color as you move outward. Carry that same light-to-dark progression through the eye shadow, eyeliner, and mascara; it’s a subtle shift that makes the finished look feel flawless and professional.

Thrive Causemetics
Liquid Lash Extensions Tubing Mascara Elena (Berry Brown)

Lancôme
Lash Idôle Flutter Extension Lengthening Mascara in 01 Black

(Image credit: Ash K Holm)
For fall, I especially love doing this technique with chocolate browns. You still get all the sultriness of a smoky eye, but it feels softer, richer, and more wearable. The best part? These techniques aren’t about changing your eye shape—they’re about maximizing what you already have.
If you want to learn more about the exact techniques I use on my celebrity clients, you can find step-by-step tutorials at The Institute by Ash K Holm.
Explore More: